Archives For Tutorials

Book Page Wreath

October 15, 2011

When we visted The Nester last month I was in complete awe of her book page wreath. It was HUGE! The pictures really don’t do it justice. And ironically, she created this beautiful book party in celebration of her sister, Emily, writing her first book, Grace for the Good Girl. And here I am preparing a birthday book party for my daughter, Emily! Apparently Emily’s like reading.
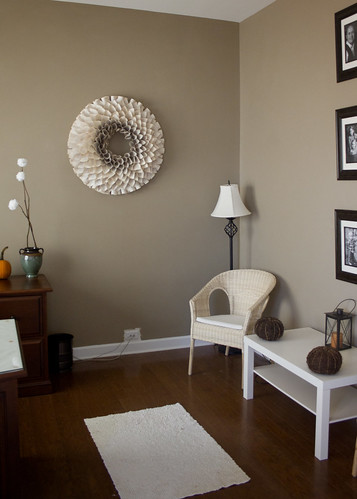
There are so many different ways to create a book page wreath but I’m a copycat. I studied the look of The Nester‘s and made mine very similar to hers. Would you like to make one? The ingredients are very simple!

straw wreath
3 books you don’t mind ripping apart
stapler
glue gun with a good handful of glue sticks

I’m very sad to say that I couldn’t get out of the house, due to sick children, so I had to use what I had. Remember this beautiful Pom Pom Wreath? It is no more. It was the only non grapevine wreath in the house so I dismembered it and wrapped fabric around the wreath so I can use the wreath again later if I ever choose to take the book page wreath apart. Sad, yes, but I do plan on making a new pom pom wreath this winter.

Next I went through all my ‘to donate’ books. I won’t tell you the titles because I don’t want to offend the authors but I do think the titles add to my love of the wreath. Word of warning: make sure you don’t want to read the books you’re tearing apart. As I was ripping up the last book I was glancing over the pages and realized it was a really, really, really good book that I never took the time to read! So I’ll be downloading it on Kindle later. Learn from my mistake. Be 100% sure or at least by a used copy.

Next rip out pages from all your books. I can’t even begin to guess how many pages I used. A whole lot. I wanted this to be very full. Once your pages are out start curling them. Now, my very back row was curled differently from all the others. It had more of a flat roll.
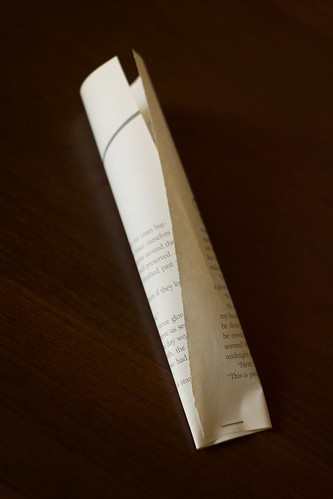
While the others had a pointy roll.
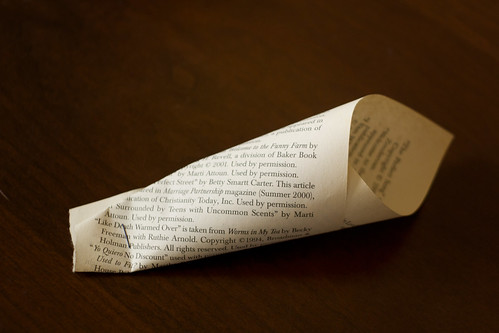
My process was to roll the page and staple it at the bottom and toss them in a box.

First, hot glue the very back row on. Glue them to the very back of the wreath. As you add more rows you’ll be working forward. This way you won’t see the straw wreath from the side.

Next, hot glue on all the other pages. Start as close to the back row as you want to get and then work toward the middle, one row at a time.
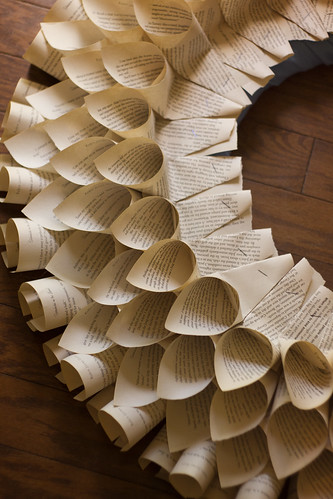
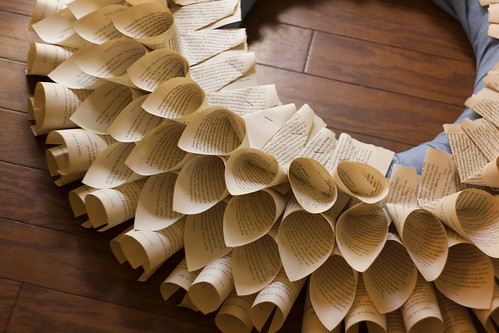
I began with a kind of pattern but as you get to the middle you’re just gonna be gluing wherever you think looks best. I like that the inside of mine uses smaller pages than was used on the back and middle/front.
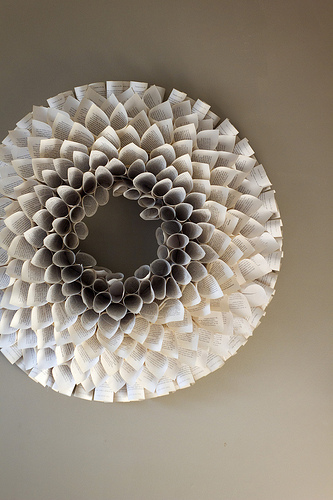
This took me all. day. long. And I have one blister from the glue gun. Also, my lovely daughter touched the glue gun when I wasn’t looking. Watch your children! She was just trying to pick that little piece of glue off that was dripping from the nozzle. Poor little baby is ok. I promise. But I wish I would have set it up higher.
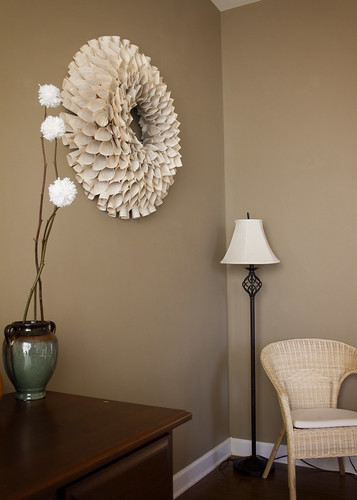
Next, hang it where everyone will see! All my children, literally, gasped when they saw it. And I was planning on hanging something completely different on this wall but I think this beautiful wreath is here to stay.
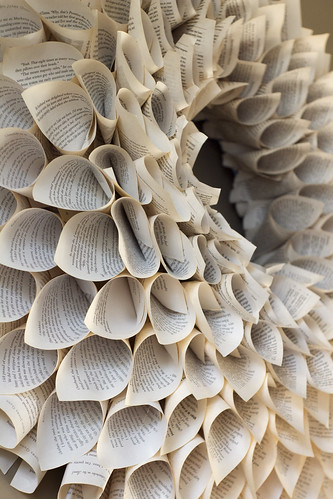
So there ya go. If you’re a book lover, too, I hope you take the time to make a book page wreath. It was worth every second and every glue gun burn.
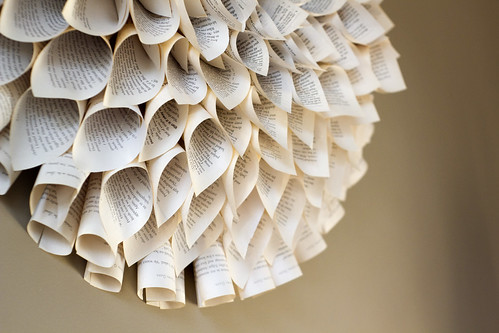
Blessings!

Rag Curls

October 10, 2011

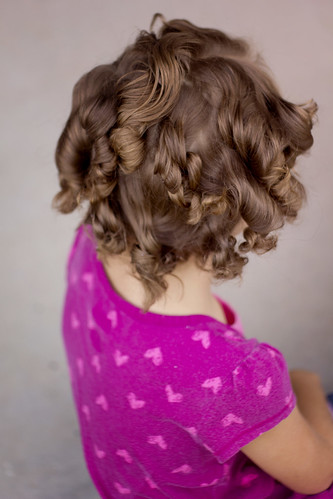
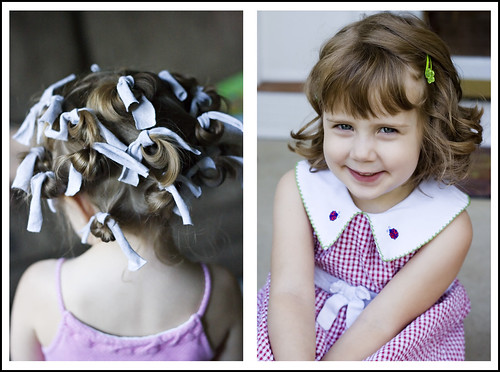
This past weekend was Crazy Hair Night at AWANA. The girls were so excited and we had so much fun thinking about what kind of crazy things they could do. They put headbands on backwards. Stuck ponytails straight into the air. We even went to the store and looked at the spray in hair colors. However, we decided to go the old fashioned route. Taking from Laura Ingalls Wilder we tried our hands at rag curls. I received so many comments on the girls hair that day/night that I wanted to post some instructions. This is very photo heavy but I hope it helps you to understand how fun, safe and easy this is {no big scary, hot curling irons}! First – the finished product.

Here is a photo from last year so you can get an idea of what her hair is normally like.

Pretty straight. She’s got some lofty curls but clearly nothing like when we rag curled it.

Now, you’re going to see a bunch of different photos. They were all taken over three days. The first night when the actual curling was done. The next day for the big reveal. The day after I had my daughters pose so we could get some good visuals to go along with the instructions.

Let’s begin!

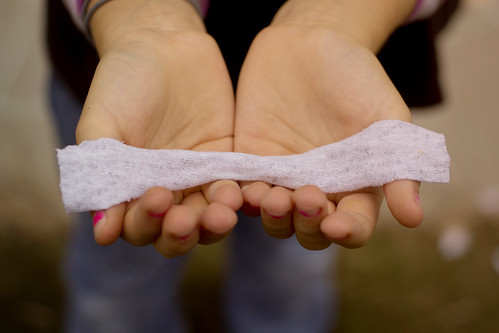
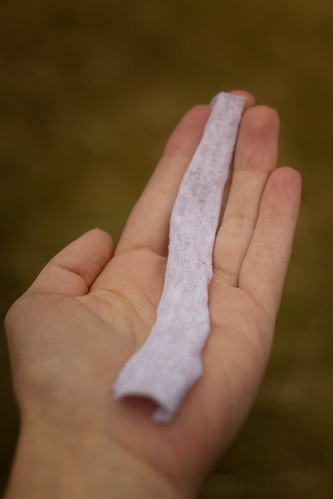
First thing you’re gonna want to do is cut up an old clean t-shirt. The pieces we cut were about 1 inch by 7 inches. Or the length of your hand.

Cut about thirty of them. I went hog wild and cut the entire shirt knowing we’d use some and lose some. Plus with this many girls we can always use extra. These do not have to be perfect. Any size will work.

Now you’re gonna want to start a movie. This whole curling thing can be a kind of long process. Especially the first time around. Once you get the hang of it it won’t take as long. For three kids it took one Prince of Egypt and part of The Lion King. It is best to start with a wet head or you can do what we did and use a bottle of water to spray on each section.

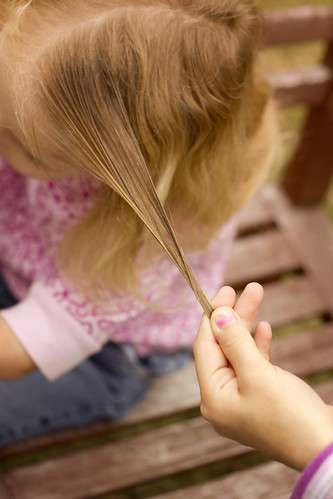
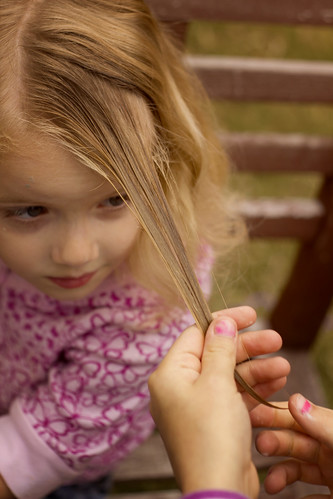
Take a section of hair. Whatever size you want. I haven’t tried it but I assume you’ll get different looks based on how big a section you work with at a time.

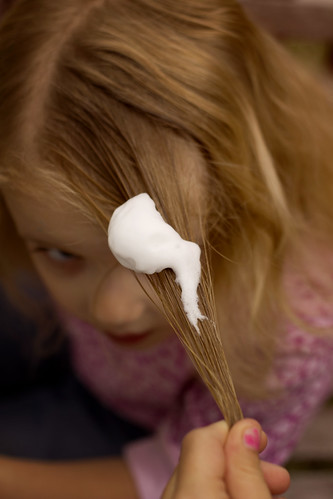
Make sure you get it wet. Then add a little poof of mousse. This will help the curl to hold the next day.

Work the mousse into the hair. Get it all the way from the roots all the way down to the tip.

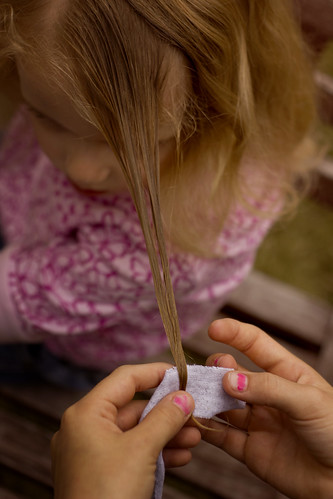
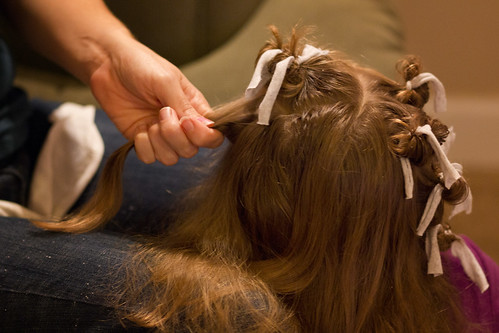
Take a piece of your fabric and place it underneath the strip of hair.

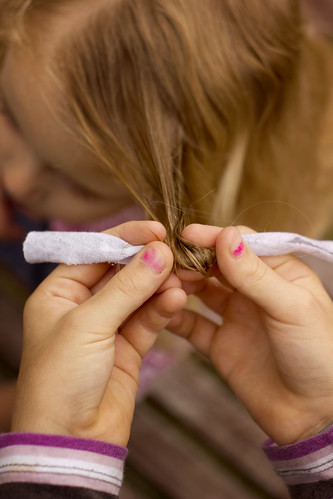
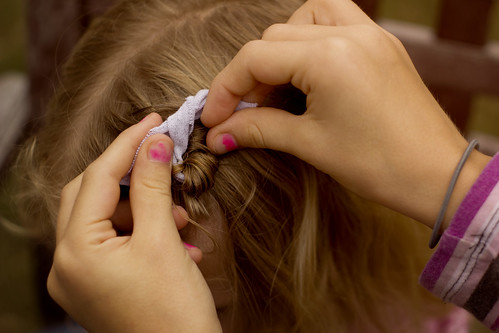
Take the end and wrap it around the fabric. This gets tricky when the hair is uneven but don’t worry too much about it. When it’s all curled up you won’t be noticing the tips all that much.

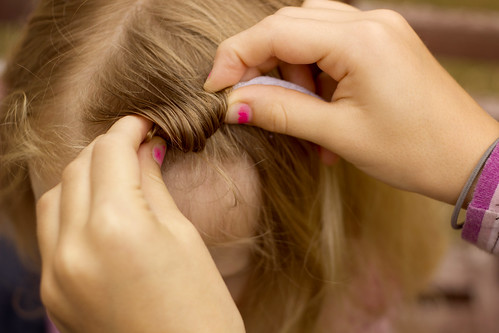
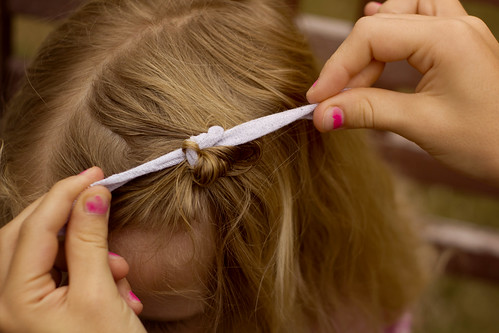
Next you’ll curl it under, up to the scalp.

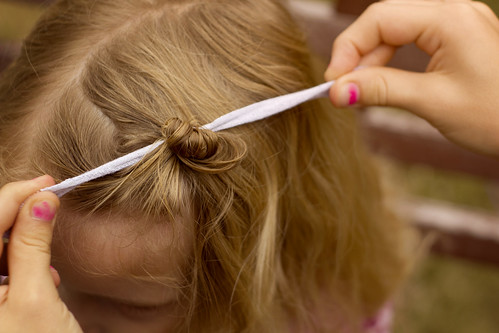
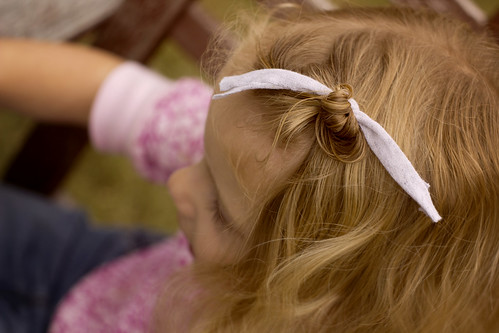
Once you get to the top all that’s left is to tie it off. And trust me, it holds! Don’t double knot it.

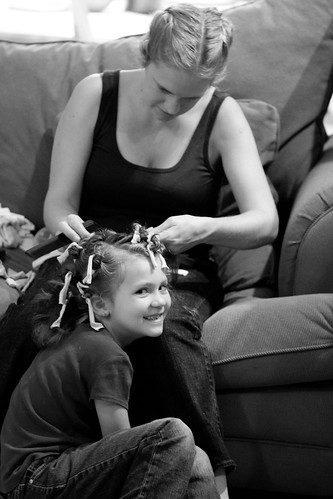
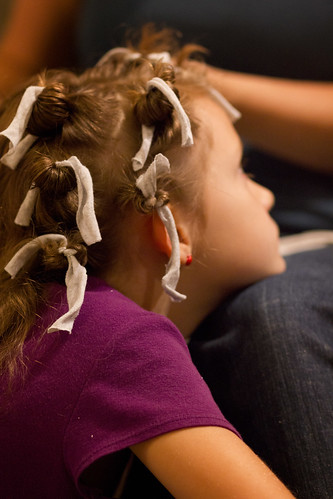
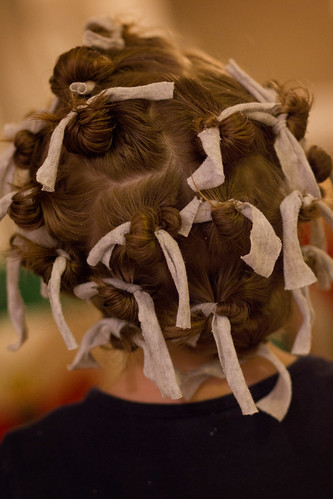
And that’s it! Once you complete the entire head it’s time to go to bed and let time do its work. Here are some photos my dear husband took the night we first rag curled.

Below you can tell it was getting late and the little ones were awfully tired.

Good morning! Time to wake up and take those rags out! If you’re anything like me, when you take the rags out you’re gonna be kinda disappointed.

It looks pretty but certainly wasn’t what I was expecting. So I nervously spread my fingers and raked my hands through her hair. And boy did it poof up!

I then quickly attacked it with lots and lots of hair spray! {later that evening we sprayed it with glitter because, after all, it was crazy hair night}

Here are photos of the other girls. Again, both have hair similar. Straight yet slightly wavy.

I hope you take the time to try this. I have yet to put a curling iron on my daughters hair and would like to stay away from doing that as long as possible. This, on the other hand, was a fun change up for them. They’re talking about trying it on each other without Mama’s help. And just so you know, this can be done without mousse. It just won’t hold as well. Here is a photo from when I tried this about four years ago without any hair products. I also made the curls much looser.

Have fun and happy curling!

Blessings!


Pom Pom Wreath

September 5, 2011

The good Lord, our creator, created us to create! To create beautiful art that will glorify Him! He supplies us with so much to release our inner artist. Why we try to stamp out our desire to create as we get older is beyond me. Sometimes we think art is meant only within the four walls of an elementary school classroom. Sisters, let me tell you, it’s meant for every day of your life. Live your life colorful!

As we’re coming into the anxiously anticipated autumn season I wanted to share a little craft with you, a pom-pom wreath. It really is so incredibly simple. I just might put my older girls in charge of it this year. It does take a long time but it can easily be done while watching tv or, my favorite, listening to a sermon!

I first got this idea from a fellow blogger, Stefani. Such a fun, simple and inexpensive wreath. I’m sorry, but I refuse to spend $70 on a wreath for my front door that is going to battle the harsh outdoor elements. No, $10 spent at Michael’s craft store is much more reasonable.

Pick out your favorite colors of yarn. I chose the color theme of our decor. And begin wrapping a color around your hand. I believe these particular pom-poms were wrapped around 75 times? Here is a great tutorial on how to make pom-poms. I wanted mine big so I wrapped around all four fingers. The wreath you see below ended up with 48 pom-poms.

I simply took a piece of yarn that was the same color as the pom-pom and tied each one on. You can see a pattern was used here but it would be equally as beautiful with no pattern at all! It’s your wreath and your choice.

I hope you find some time this autumn to create one. And if not you, have your kids have a go at it. Simply even making one for their bedroom door. Allow them to express their creative little selves. Have fun and be patient. It takes a bit of time but it makes a lasting impression!

Blessings!