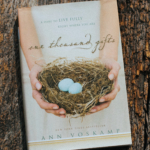
When we visted The Nester last month I was in complete awe of her book page wreath. It was HUGE! The pictures really don’t do it justice. And ironically, she created this beautiful book party in celebration of her sister, Emily, writing her first book, Grace for the Good Girl. And here I am preparing a birthday book party for my daughter, Emily! Apparently Emily’s like reading.
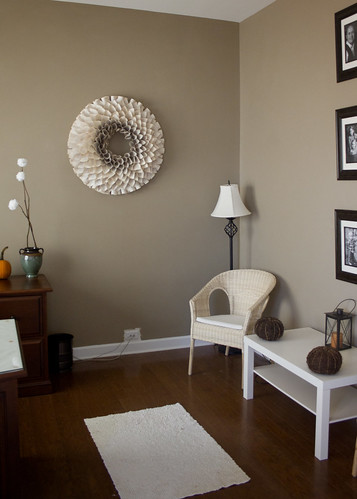
There are so many different ways to create a book page wreath but I’m a copycat. I studied the look of The Nester‘s and made mine very similar to hers. Would you like to make one? The ingredients are very simple!
straw wreath
3 books you don’t mind ripping apart
stapler
glue gun with a good handful of glue sticks
I’m very sad to say that I couldn’t get out of the house, due to sick children, so I had to use what I had. Remember this beautiful Pom Pom Wreath? It is no more. It was the only non grapevine wreath in the house so I dismembered it and wrapped fabric around the wreath so I can use the wreath again later if I ever choose to take the book page wreath apart. Sad, yes, but I do plan on making a new pom pom wreath this winter.
Next I went through all my ‘to donate’ books. I won’t tell you the titles because I don’t want to offend the authors but I do think the titles add to my love of the wreath. Word of warning: make sure you don’t want to read the books you’re tearing apart. As I was ripping up the last book I was glancing over the pages and realized it was a really, really, really good book that I never took the time to read! So I’ll be downloading it on Kindle later. Learn from my mistake. Be 100% sure or at least by a used copy.
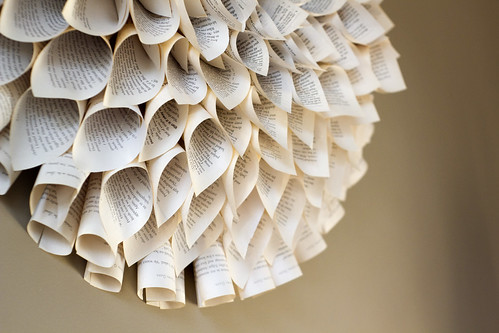
Next rip out pages from all your books. I can’t even begin to guess how many pages I used. A whole lot. I wanted this to be very full. Once your pages are out start curling them. Now, my very back row was curled differently from all the others. It had more of a flat roll.
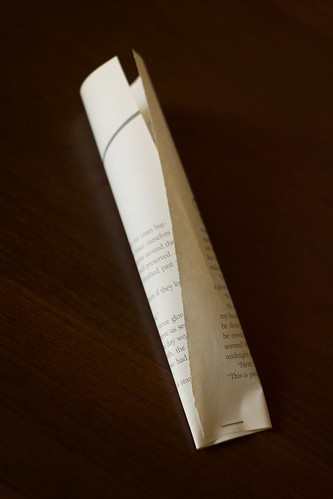
While the others had a pointy roll.
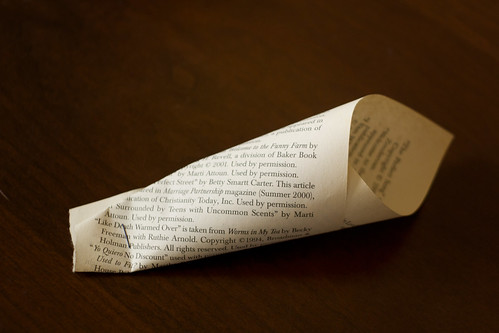
My process was to roll the page and staple it at the bottom and toss them in a box.
First, hot glue the very back row on. Glue them to the very back of the wreath. As you add more rows you’ll be working forward. This way you won’t see the straw wreath from the side.
Next, hot glue on all the other pages. Start as close to the back row as you want to get and then work toward the middle, one row at a time.
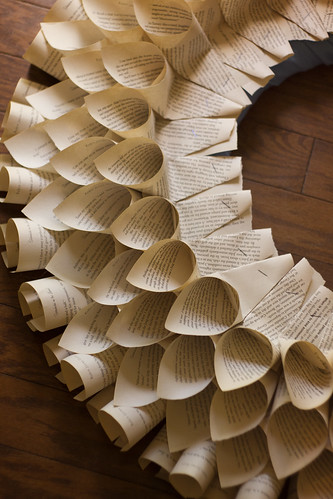
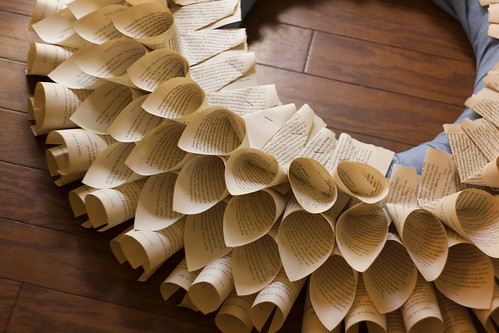
I began with a kind of pattern but as you get to the middle you’re just gonna be gluing wherever you think looks best. I like that the inside of mine uses smaller pages than was used on the back and middle/front.
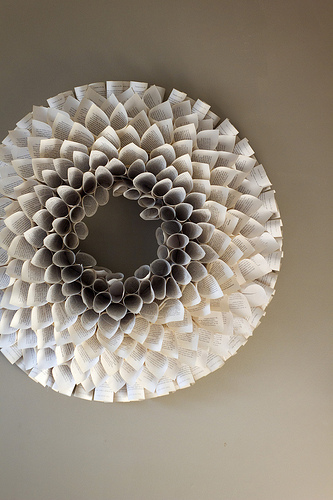
This took me all. day. long. And I have one blister from the glue gun. Also, my lovely daughter touched the glue gun when I wasn’t looking. Watch your children! She was just trying to pick that little piece of glue off that was dripping from the nozzle. Poor little baby is ok. I promise. But I wish I would have set it up higher.
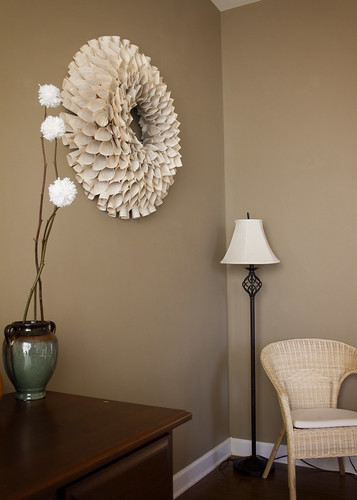
Next, hang it where everyone will see! All my children, literally, gasped when they saw it. And I was planning on hanging something completely different on this wall but I think this beautiful wreath is here to stay.
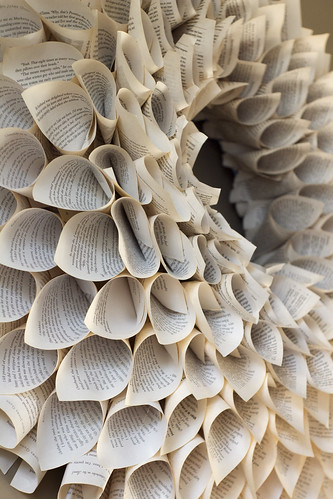
So there ya go. If you’re a book lover, too, I hope you take the time to make a book page wreath. It was worth every second and every glue gun burn.
Blessings!


